I wanted to find a way to make a thin rock hard coating – you know kind of like dragee – for my pre-vegan favorite Christmas candy called snowballs. Knowing that aquafaba royal icing sets rock hard, I started experimenting. I tried different types of thickness of royal icing. None of them did the job.
But then I came up with something I like to call royal aquafaba coating. Because the best result I got, was simply from dipping the chocolate covered marzipan eggs directly into the aquafaba and then dabbing it into the icing sugar. I got a nice firm perfectly white coating and came close enough to the Christmas treat to blog about it here: Snowballs. It is definitely not as hard as sugar dragee but it looks pretty close end it allows you to make a very thin coating that you can apply to round shapes like say… snowballs! But I wanted more. I wanted color. I have previously had fun with coloring shredded coconut with fruits and veggies (see for yourself)…
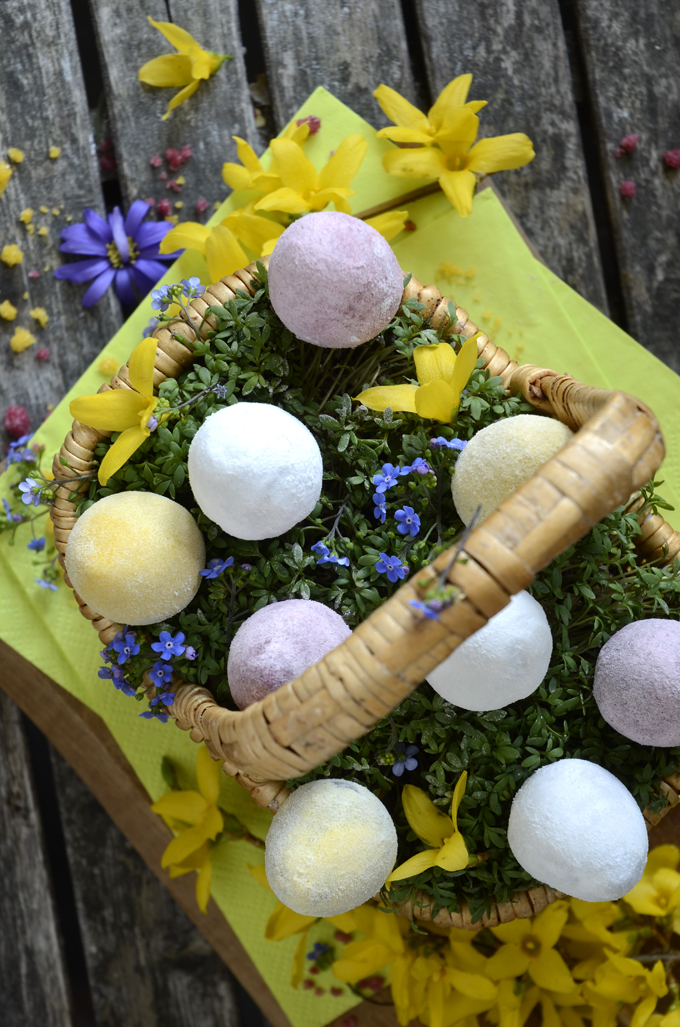
… and I have been wanting to try the same with sugar. So with Easter coming up I had a good excuse to try it out with these Easter eggs. It worked pretty well, just note that the coating won’t be nearly as firm as original dragee. It is more fragile when you bite into it, but it looks pretty, and it holds color 🙂
How to dye the sugar
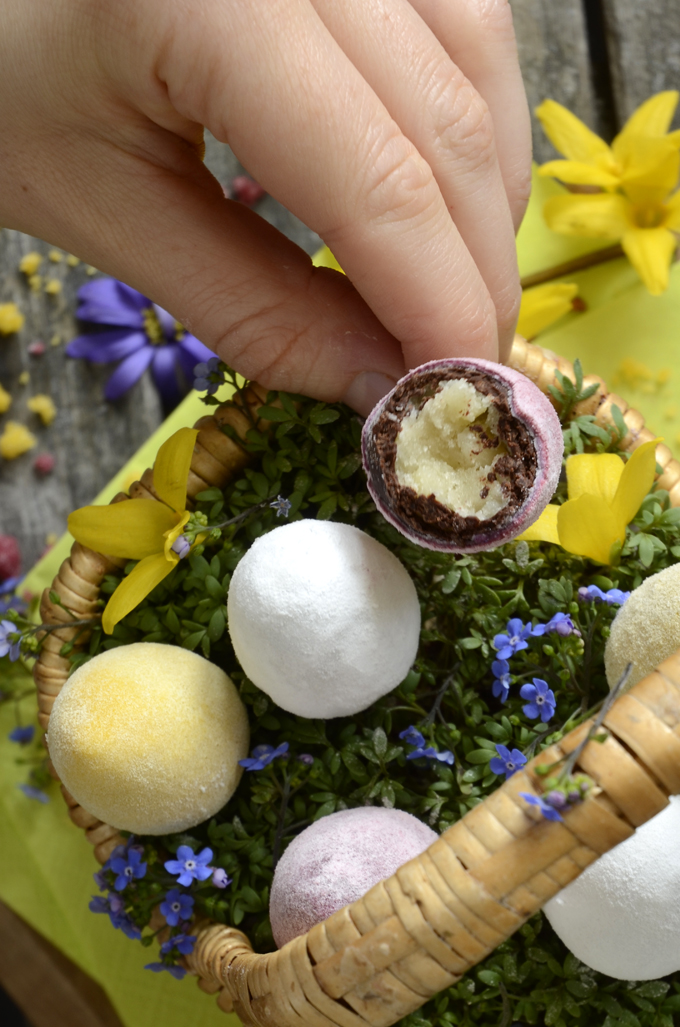
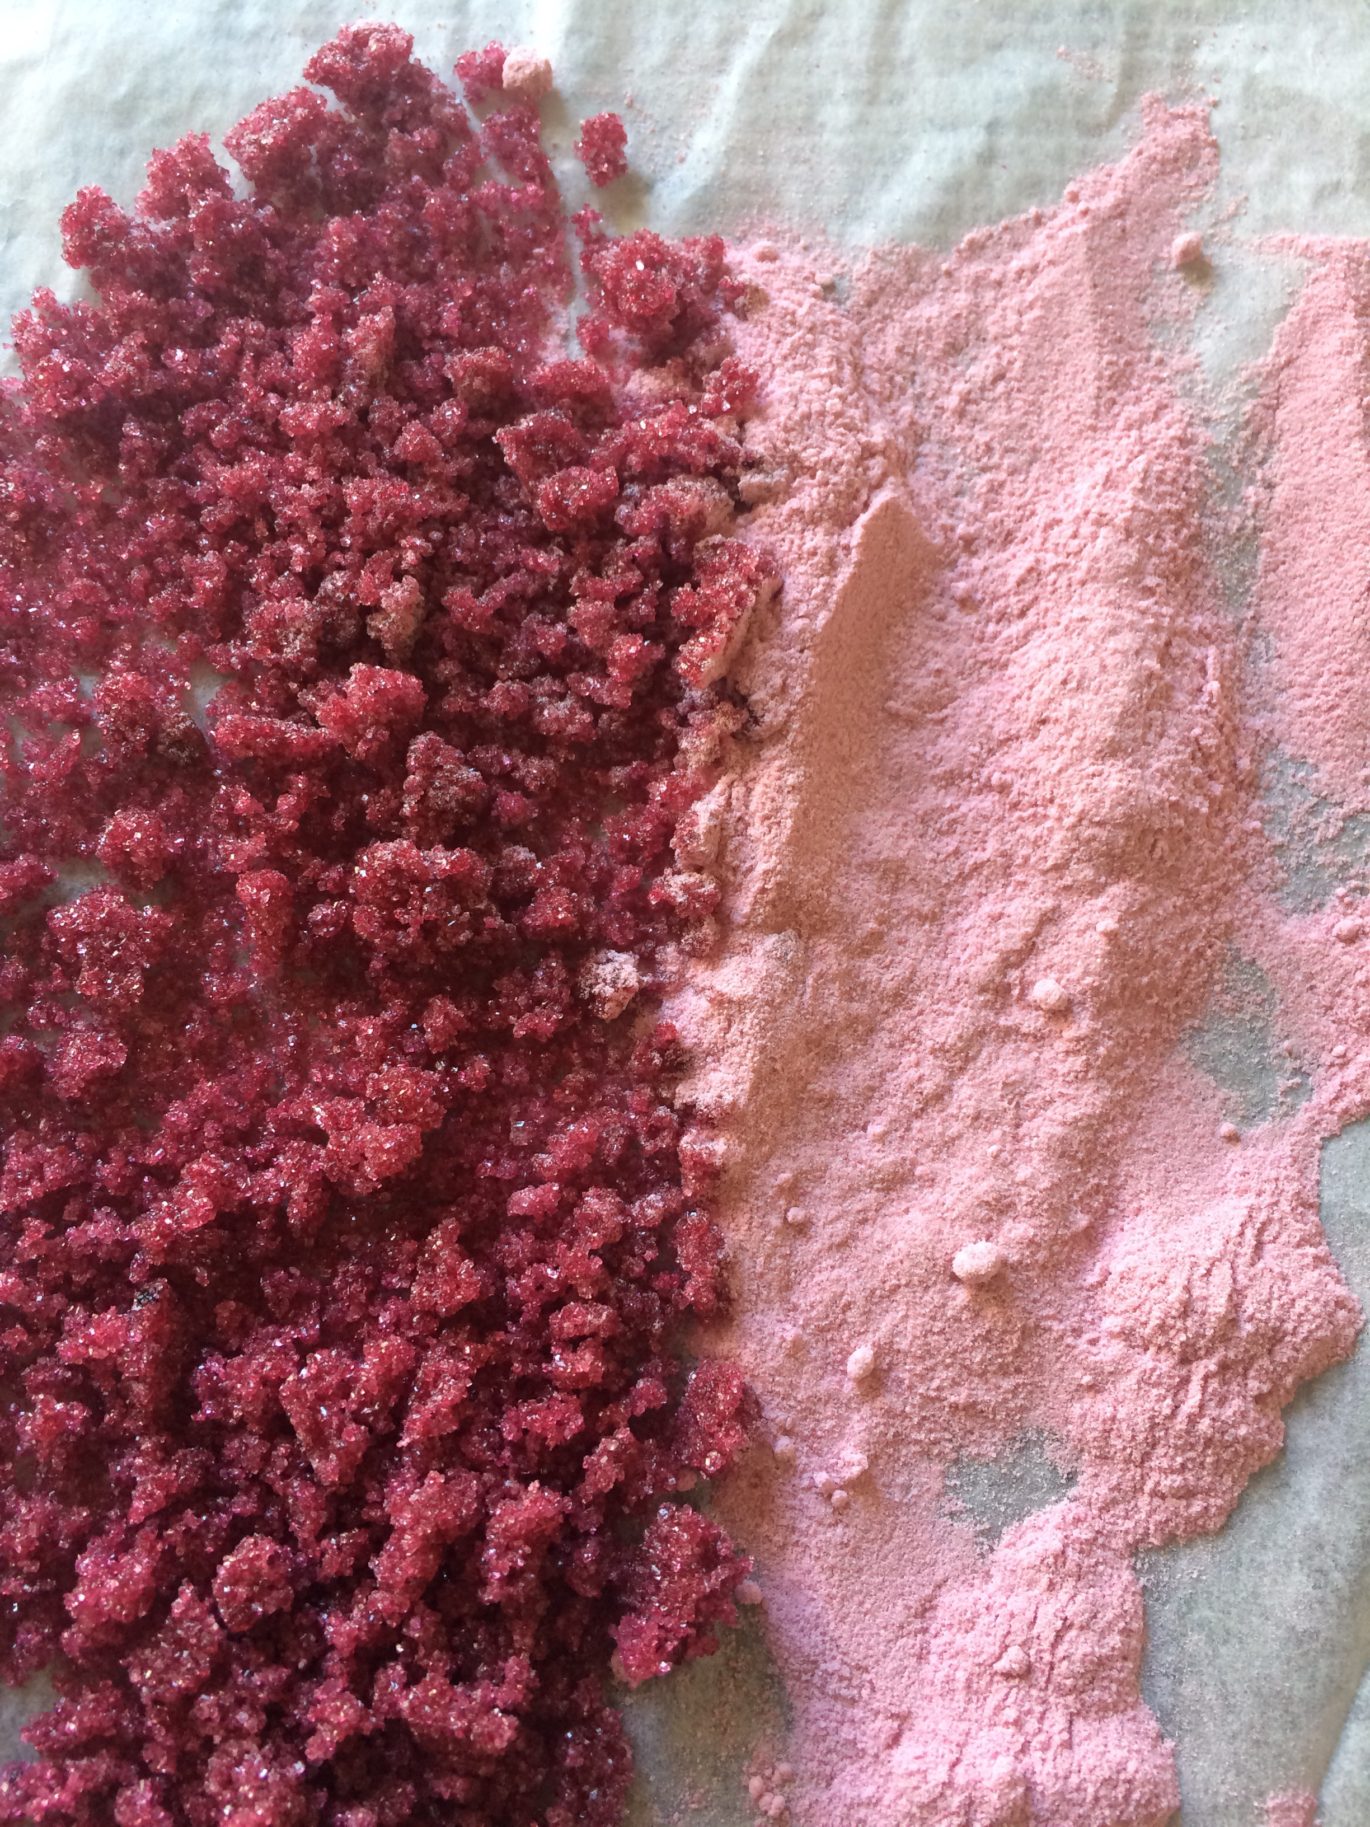
(Note that you can skip this step, and just make white eggs using store-bought icing sugar. And you can probably even buy powdered food color and simply add that to the icing sugar). I had fresh turmeric root (for yellow) and blueberries (for shades of pink and purple) in the house. For half a cup of white caster sugar, you need at least about 2 teaspoons of very heavily colored fruit juice. Things like wild blueberries (the ones that will color your tongue blue), Turmeric and probably beets will do the job. Simply juice the turmeric root or mash the blueberries to get a couple of teaspoons out of them. Stir the juice into the sugar until it is completed distributed. Spread it out as thin as possible and let it dry out, preferably in a dehydrator. When it is completely dry, put it in a coffee grinder or small food processor and process until you have a fine powder. Before and after processing into powder:
Shape and let the marzipan eggs dry out
Don’t worry about getting the surface 100% perfect. The chocolate will cover up and smooth them out a bit.I recommend letting the marzipan dry out a bit once you’ve made your egg shapes. Firstly, it tastes better this way. Also it sticks better to the toothpick and you won’t get marzipan goo in the chocolate when you dip it.

Apply royal aquafaba coating
So now all you’ve got to do is dip the marzipan into chocolate, let it set and then coat with the aquafaba and lastly the icing sugar. And then of course the hardest part: The waiting. It will take at least 12 hours for the coating to get completely solid.
 Royal aquafaba coating method
Your aquafaba should be about the consistency of that you find in a can. It’s OK if it has salt. You dip the chocolate eggs ONCE in the aquafaba. Then you tap it hard to let excessive drip off. It should cling to and cover the entire surface and not be shed off. By sort of moving it around as if you were fighting a fairy sized enemy with a sword you make sure it is evenly distributed the moment you start dabbing it into the icing sugar. This should be done very gently, but quickly, sort of dabbing the egg multiple times. Every time you lift it up you turn it a bit before dabbing it again making sure all aquafaba is saturated with icing sugar.
It may take a little practice to get the right amount of aquafaba. Too much and the icing sugar will form uneven lumps (Which you may be able to press flat). Too little and you won’t get enough icing sugar to attach. Set the eggs aside and keep an eye on them while you continue with the next ones. As soon as wet/dark areas arise, you apply more icing sugar. Make sure to tap it along the way to get dry lumps of icing sugar off. When all areas have been covered, you can sort of squeeze them between the palms of your hands or fingers to get the coating even tighter.
It may take a little practice. You want to find the perfect balance between applying too much or too little icing sugar. But if you got the aquafaba dipping right, the amount of icing sugar it can hold should be pretty perfect.
Here’s a very primitive you showing you the process of the dipping and the dabbing.
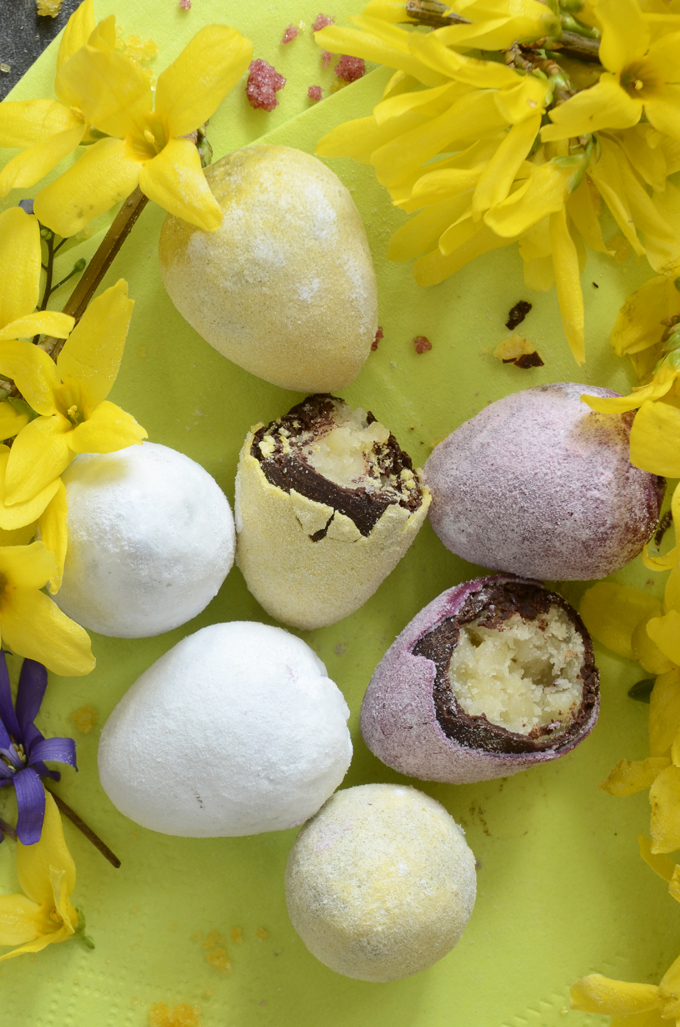
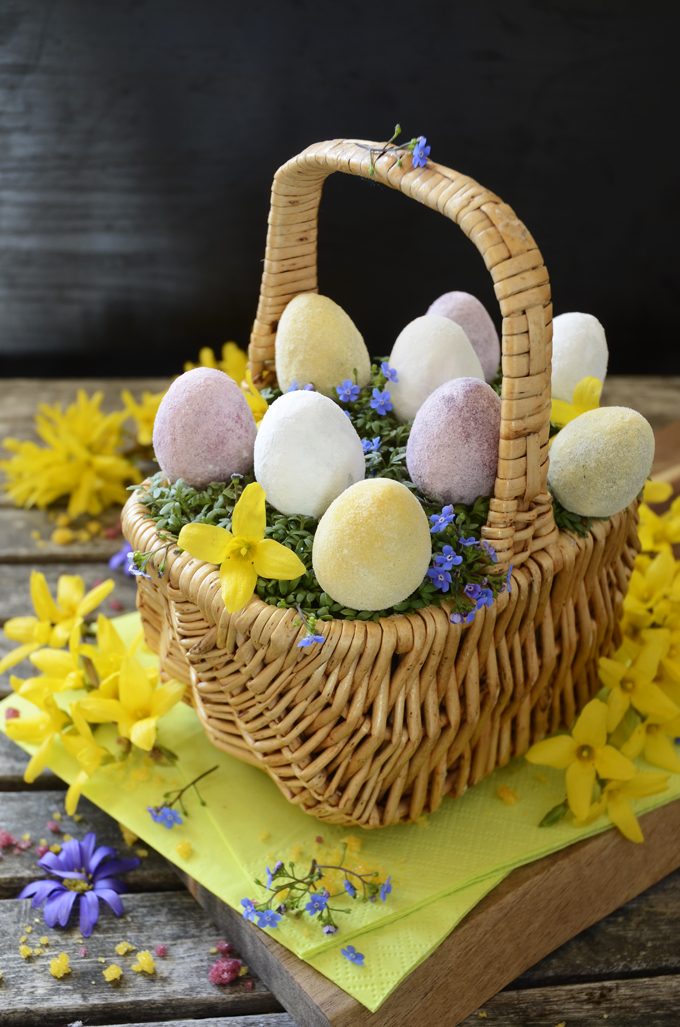
And if all goes well, you should end up with a pretty handful of vegan aquafaba Easter eggs. Like so:
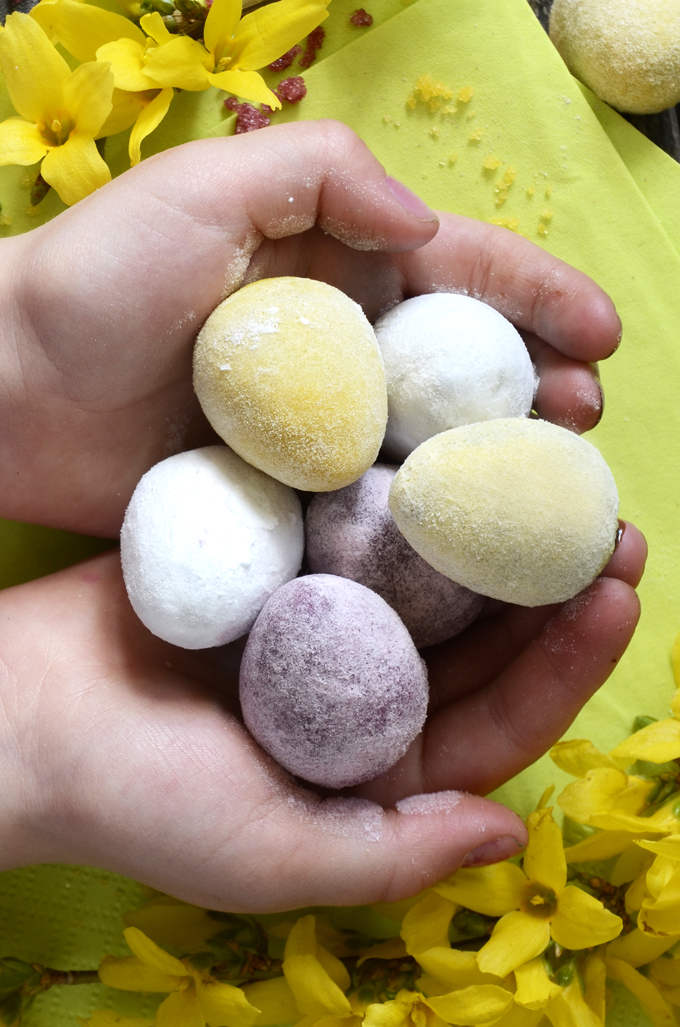
Aquafaba Easter eggs (vegan)
INGREDIENSER
- 100 gr marzipan
- 75 gr dark chocolate
- 1/4 cup aquafaba (just enough to dip the eggs in. Consistency should be like that coming from a can.)
- icing sugar (either white or colored as described above in the blog post. You only need about a teaspoon per egg, but you need a bigger amount to be able to dip them. 1/4 cup is about minimum for dipping an egg. I had about a 1/4 or 1/2 a cup of each color available.)
- 1 dash of coconut oil to thin the chocolate a little bit. About 1/4 tsp
SÅDAN GØR DU
- Divide your marzipan into 10 equally sized balls, by rolling them between the palm of your hand a smooth table top. Then support the side of your hand on the table top and continue to roll them now giving them the egg shape.
- I now recommend freezing the eggs about 15 minutes. This gives a nice thick chocolate coating and also it helps the chocolate set faster which gives a nicer shape (since the thick layer will cover up little lumps and cracks in the marzipan) and prevents it from running off.
- Melt the chocolate gently baine Marie. I simply chop the chocolate, put it in a small metal bowl and put it on top of a large tea cup filled with freshly boiled water - note that the bowl shouldn't be touching the water. Mix in the coconut oil.
- Remove the marzipan eggs from the freezer and dip them One at a time - while turning them - in the chocolate. Let the chocolate cover a tiny bit of a toothpick to better attach it. Let excess chocolate trip off and then I recommend sort of moving the egg around until the chocolate has set or it will tend to set unevenly.
- Let the (now) chocolate eggs harden and come to room temperature. If they were ice cold when dipping, some condensation water might still appear on the chocolate - let this evaporate.
- Pour aquafaba into a tiny bowl or wine glass with rounded bottom. Sift the icing sugar into separate little bowls to avoid lumps. Now take one egg dip it all the way into the aquafaba, let excess dripp off and then sort of dab it several times into the icing sugar, making sure all aquafaba is saturated with icing sugar. I filled a tablespoon with icing sugar to be able to dip and cover the parts around the toothpick. Let it set and continue with the remaining eggs. Along the way keep an eye on the eggs you have already covered with icing sugar and re-dab the eggs, when wet/darker parts are appearing on them. Eventually the whole surface will appear dry. You can tap the toothpick with a spoon this helps excess icing sugar fall off. Lastly gently squeeze or dab the egg with your fingers to firm up the coating. You can even get some of it off by blowing on them.
- Let them dry completely at room temperature. This takes at least 12 hours but if you have the time let them sit for 24. The coating should be rock hard.
- Gently remove the toothpicks by turning them while pulling them out. You can mend the hole by dipping the eggs partially into icing sugar.
Enjoy!

 Royal aquafaba coating method
Skriv et svar